As June arrives in Portland, many homeowners are ready to spend more time outdoors enjoying the sunshine, backyard barbecues, and longer days. But before summer gets into full swing, it’s the perfect time to tackle a few important home maintenance projects that can help protect your investment, improve energy efficiency, and keep your property looking its best.
Whether you’re planning to stay in your home for years to come or thinking about selling in the future, routine maintenance is one of the smartest ways to preserve your home’s value. The Pacific Northwest’s wet winters and mild springs can take a toll on roofs, gutters, landscaping, and exterior surfaces, making June an ideal month to inspect, clean, and prepare your property for the warmer months ahead.
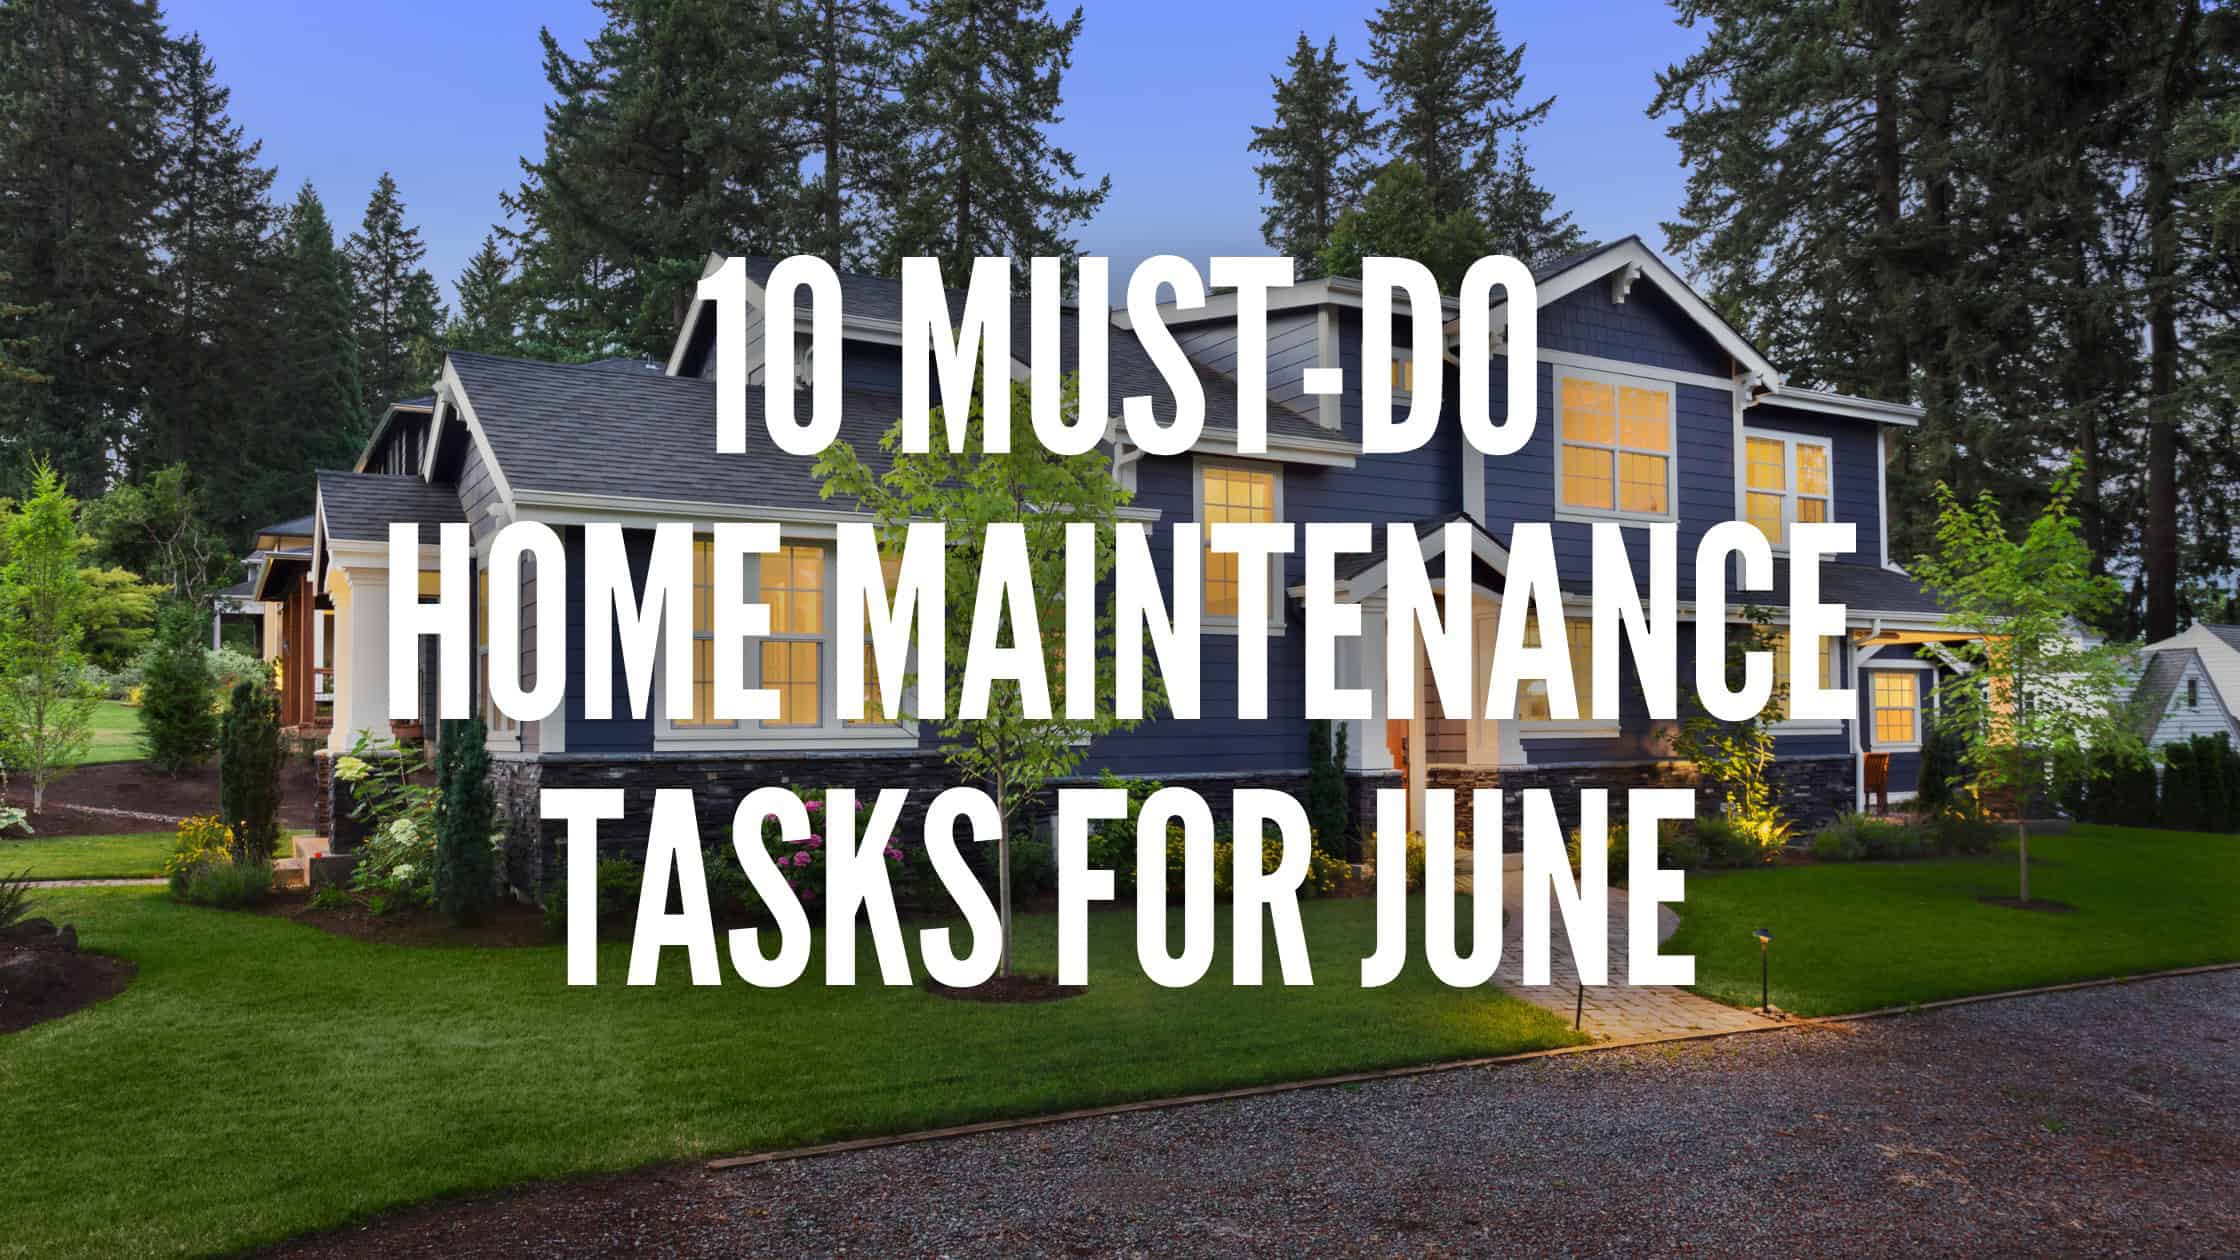
To help you get started, I’ve put together a June Home Maintenance Checklist!
1. Clean and Inspect Gutters and Downspouts
After months of rain, leaves, moss, and debris often accumulate in gutters and downspouts throughout the Portland metro area.
Even if you cleaned them in the fall, it’s worth taking another look before summer arrives.
When gutters become clogged, water can overflow and damage:
- Roofing materials
- Fascia boards
- Siding
- Foundations
- Landscaping
Make sure water is flowing freely through all downspouts and that runoff is directed away from your home’s foundation.
Pro Tip: If you consistently struggle with debris buildup, consider installing gutter guards to reduce future maintenance.
2. Inspect Your Roof for Winter Damage
Portland’s rainy season can be tough on roofing materials. June’s dry weather provides an excellent opportunity to perform a visual roof inspection.
Look for:
- Missing shingles
- Curled or cracked shingles
- Loose flashing
- Moss growth
- Debris accumulation in valleys
If you notice significant moss growth—a common issue throughout the Pacific Northwest—it may be time for professional treatment before it causes damage to roofing materials.
Addressing minor issues now can prevent costly repairs later.
3. Check Exterior Paint and Siding
The combination of moisture and fluctuating temperatures can cause wear and tear on exterior surfaces.
Walk around your property and look for:
- Peeling paint
- Cracked caulking
- Damaged trim
- Soft spots in wood siding
- Areas of mildew or algae growth
Touching up small areas now can help prevent larger projects down the road.
For homeowners considering selling within the next year, fresh exterior paint remains one of the most effective ways to improve curb appeal.
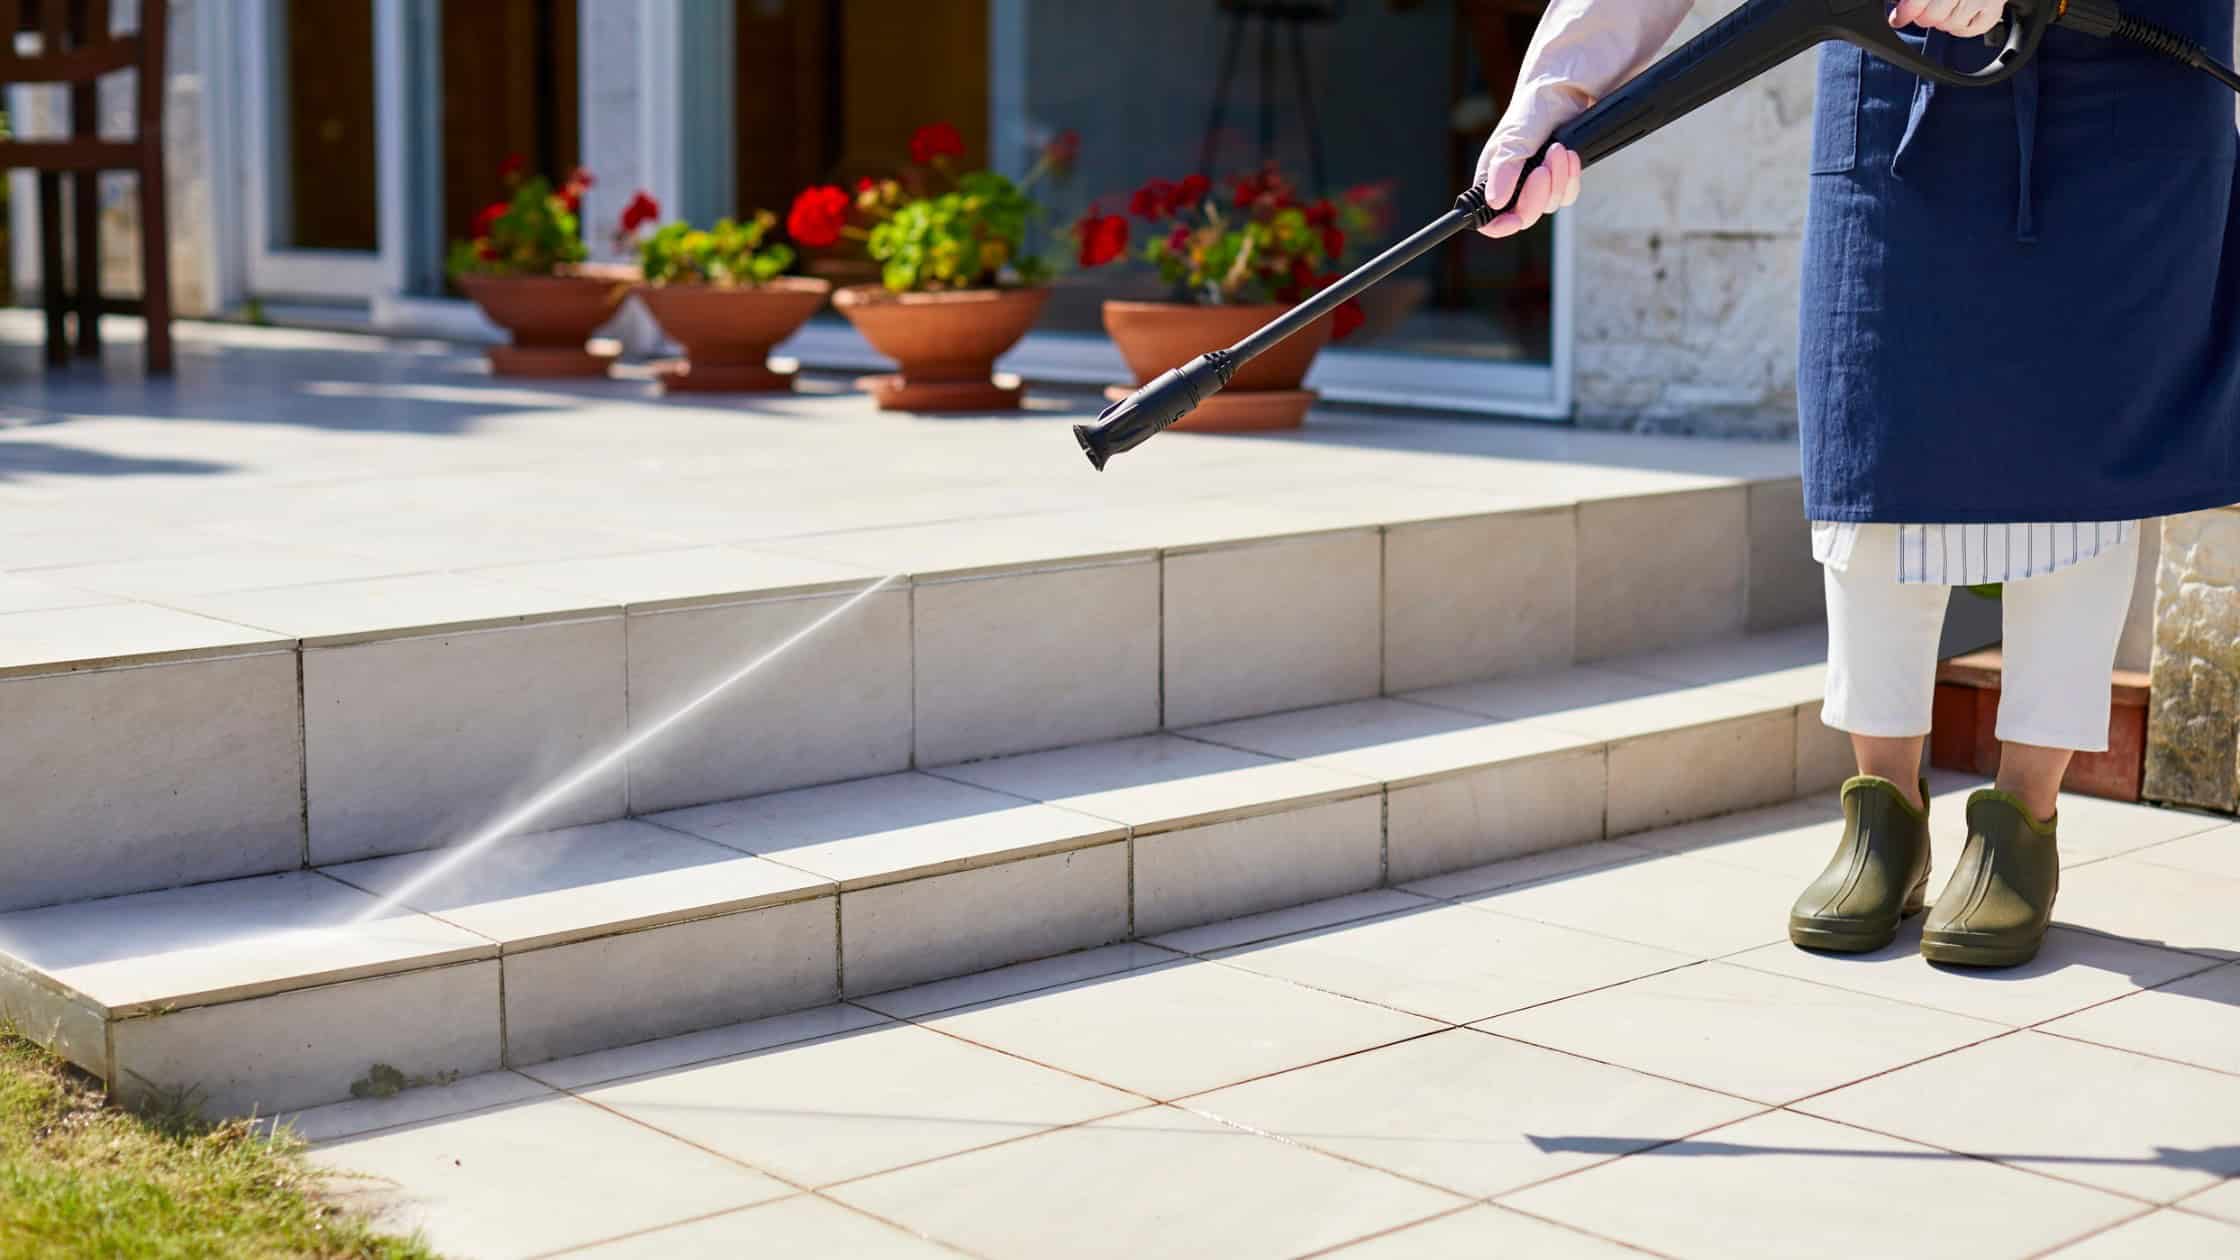
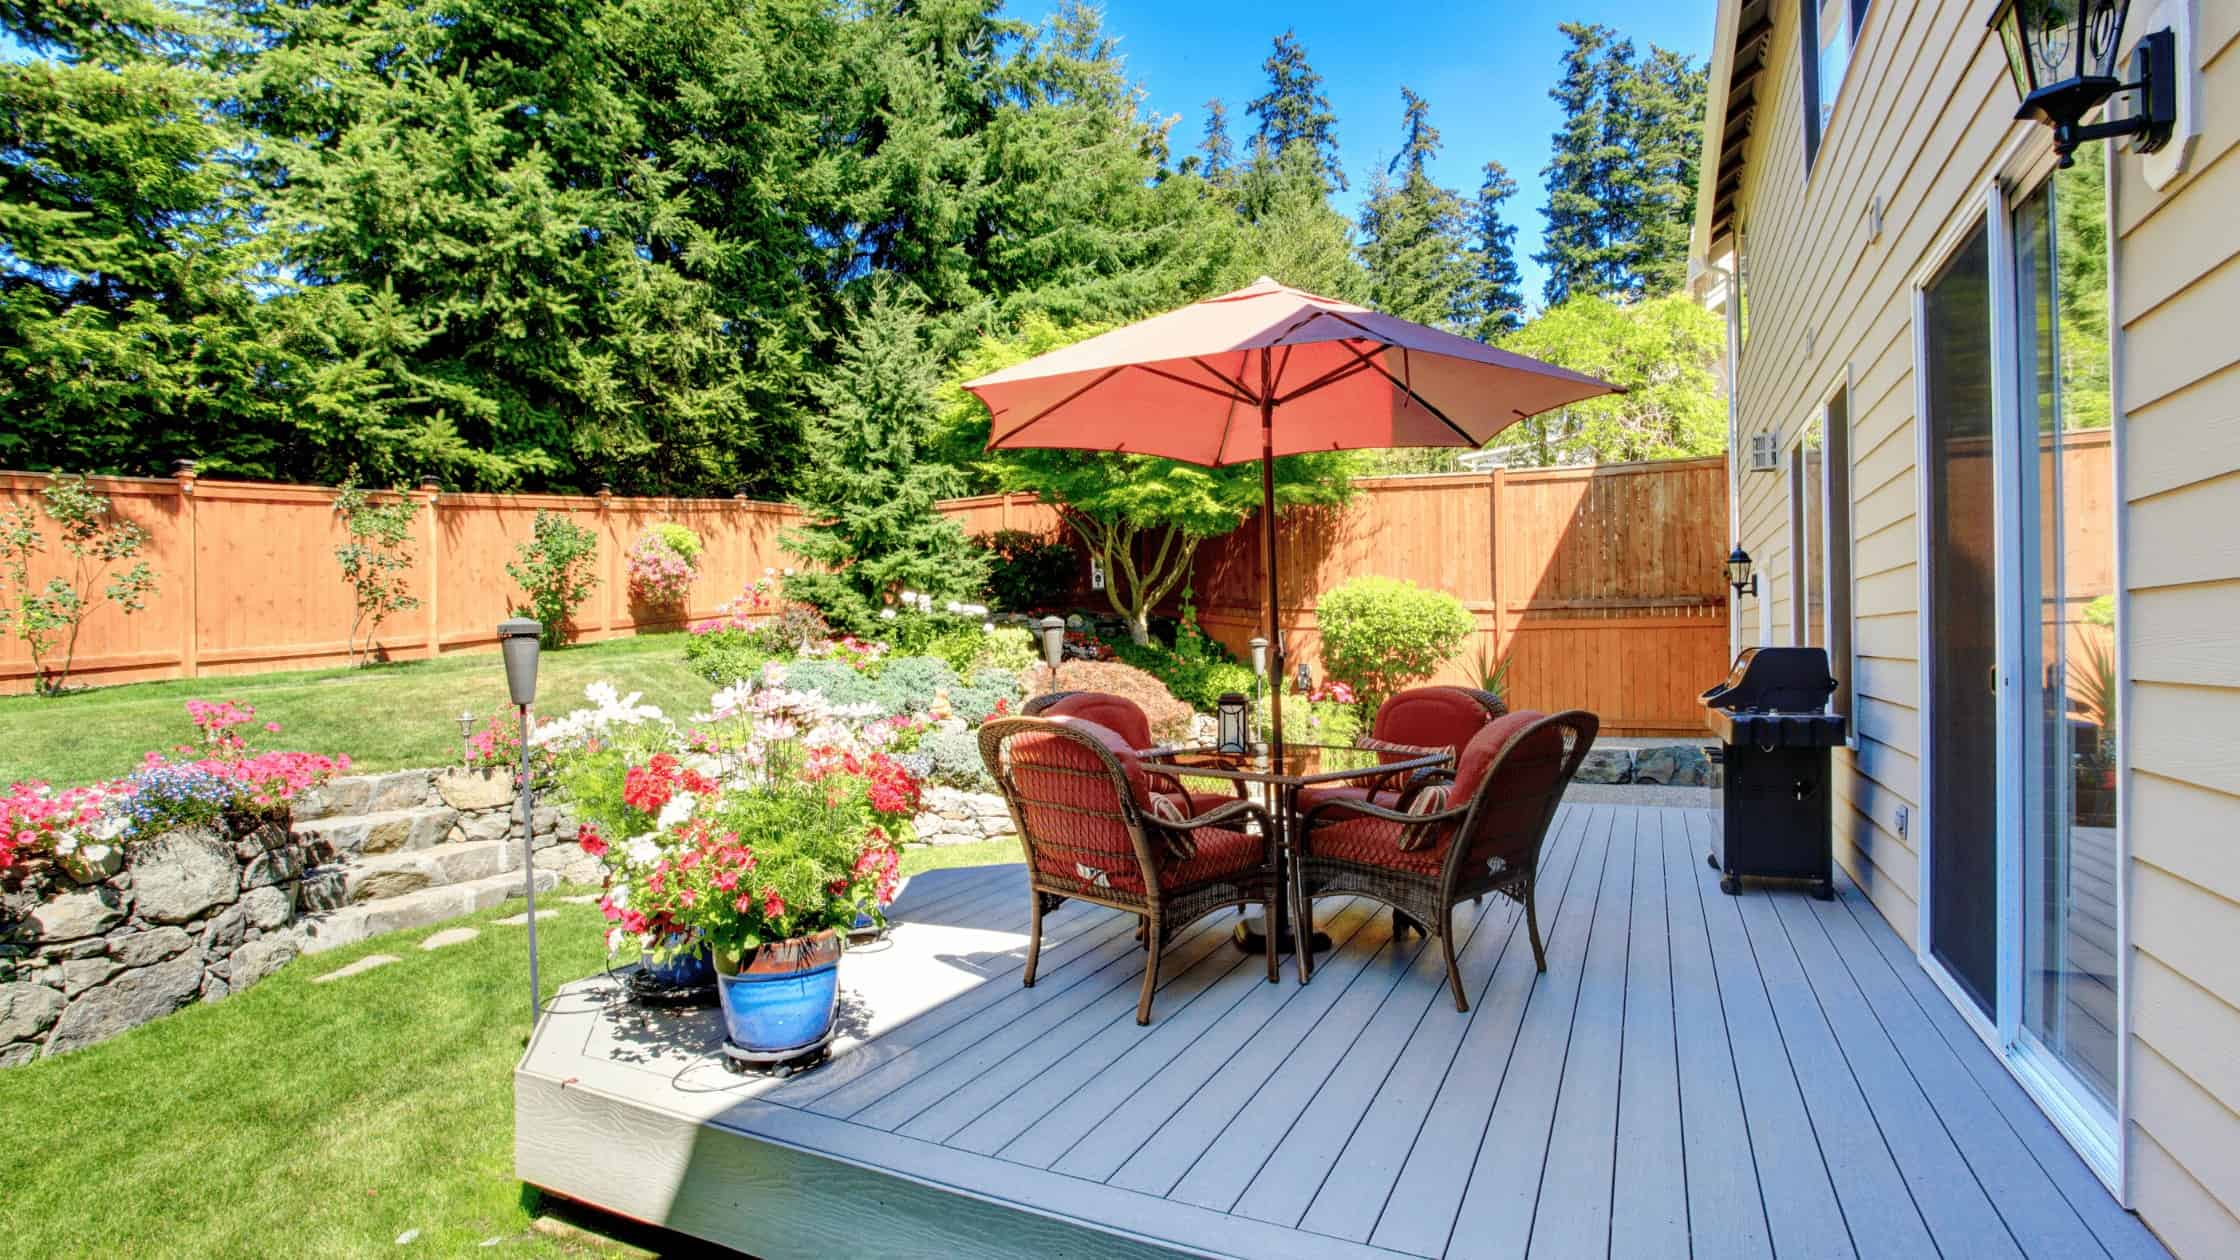
4. Pressure Wash Outdoor Surfaces
June is one of the best months to refresh your home’s exterior.
Consider pressure washing:
- Driveways
- Walkways
- Patios
- Decks
- Retaining walls
- Fences
Portland’s damp climate often leaves behind moss, mildew, and grime that can make surfaces appear older than they are.
A thorough cleaning can instantly brighten your property and make outdoor living spaces more inviting.
5. Service Your Air Conditioning System
While Portland’s summers are generally milder than many parts of the country, recent years have shown that significant heat waves are possible.
Before temperatures rise:
- Replace HVAC filters
- Clear debris from outdoor units
- Check vents and registers
- Schedule professional maintenance if needed
Regular HVAC servicing improves efficiency, lowers energy costs, and helps reduce the likelihood of an unexpected breakdown during the hottest days of summer.
6. Inspect and Seal Decks and Fences
Outdoor wood structures endure months of rain and moisture exposure throughout the winter.
June is a great time to:
- Check for loose boards
- Tighten hardware
- Replace damaged wood
- Apply stain or sealant
Protecting your deck and fencing helps extend their lifespan and keeps them looking great for summer entertaining.
Well-maintained outdoor spaces are especially attractive to prospective buyers and guests alike.
7. Test Irrigation Systems and Adjust Watering Schedules
As rainfall decreases and temperatures begin to rise, your landscape’s watering needs will change.
Inspect:
- Sprinkler heads
- Drip irrigation systems
- Hose connections
- Timers and controllers
Look for leaks, clogged emitters, or areas receiving uneven coverage.
Because Portland summers are typically dry, efficient irrigation can help maintain healthy landscaping while avoiding unnecessary water waste.
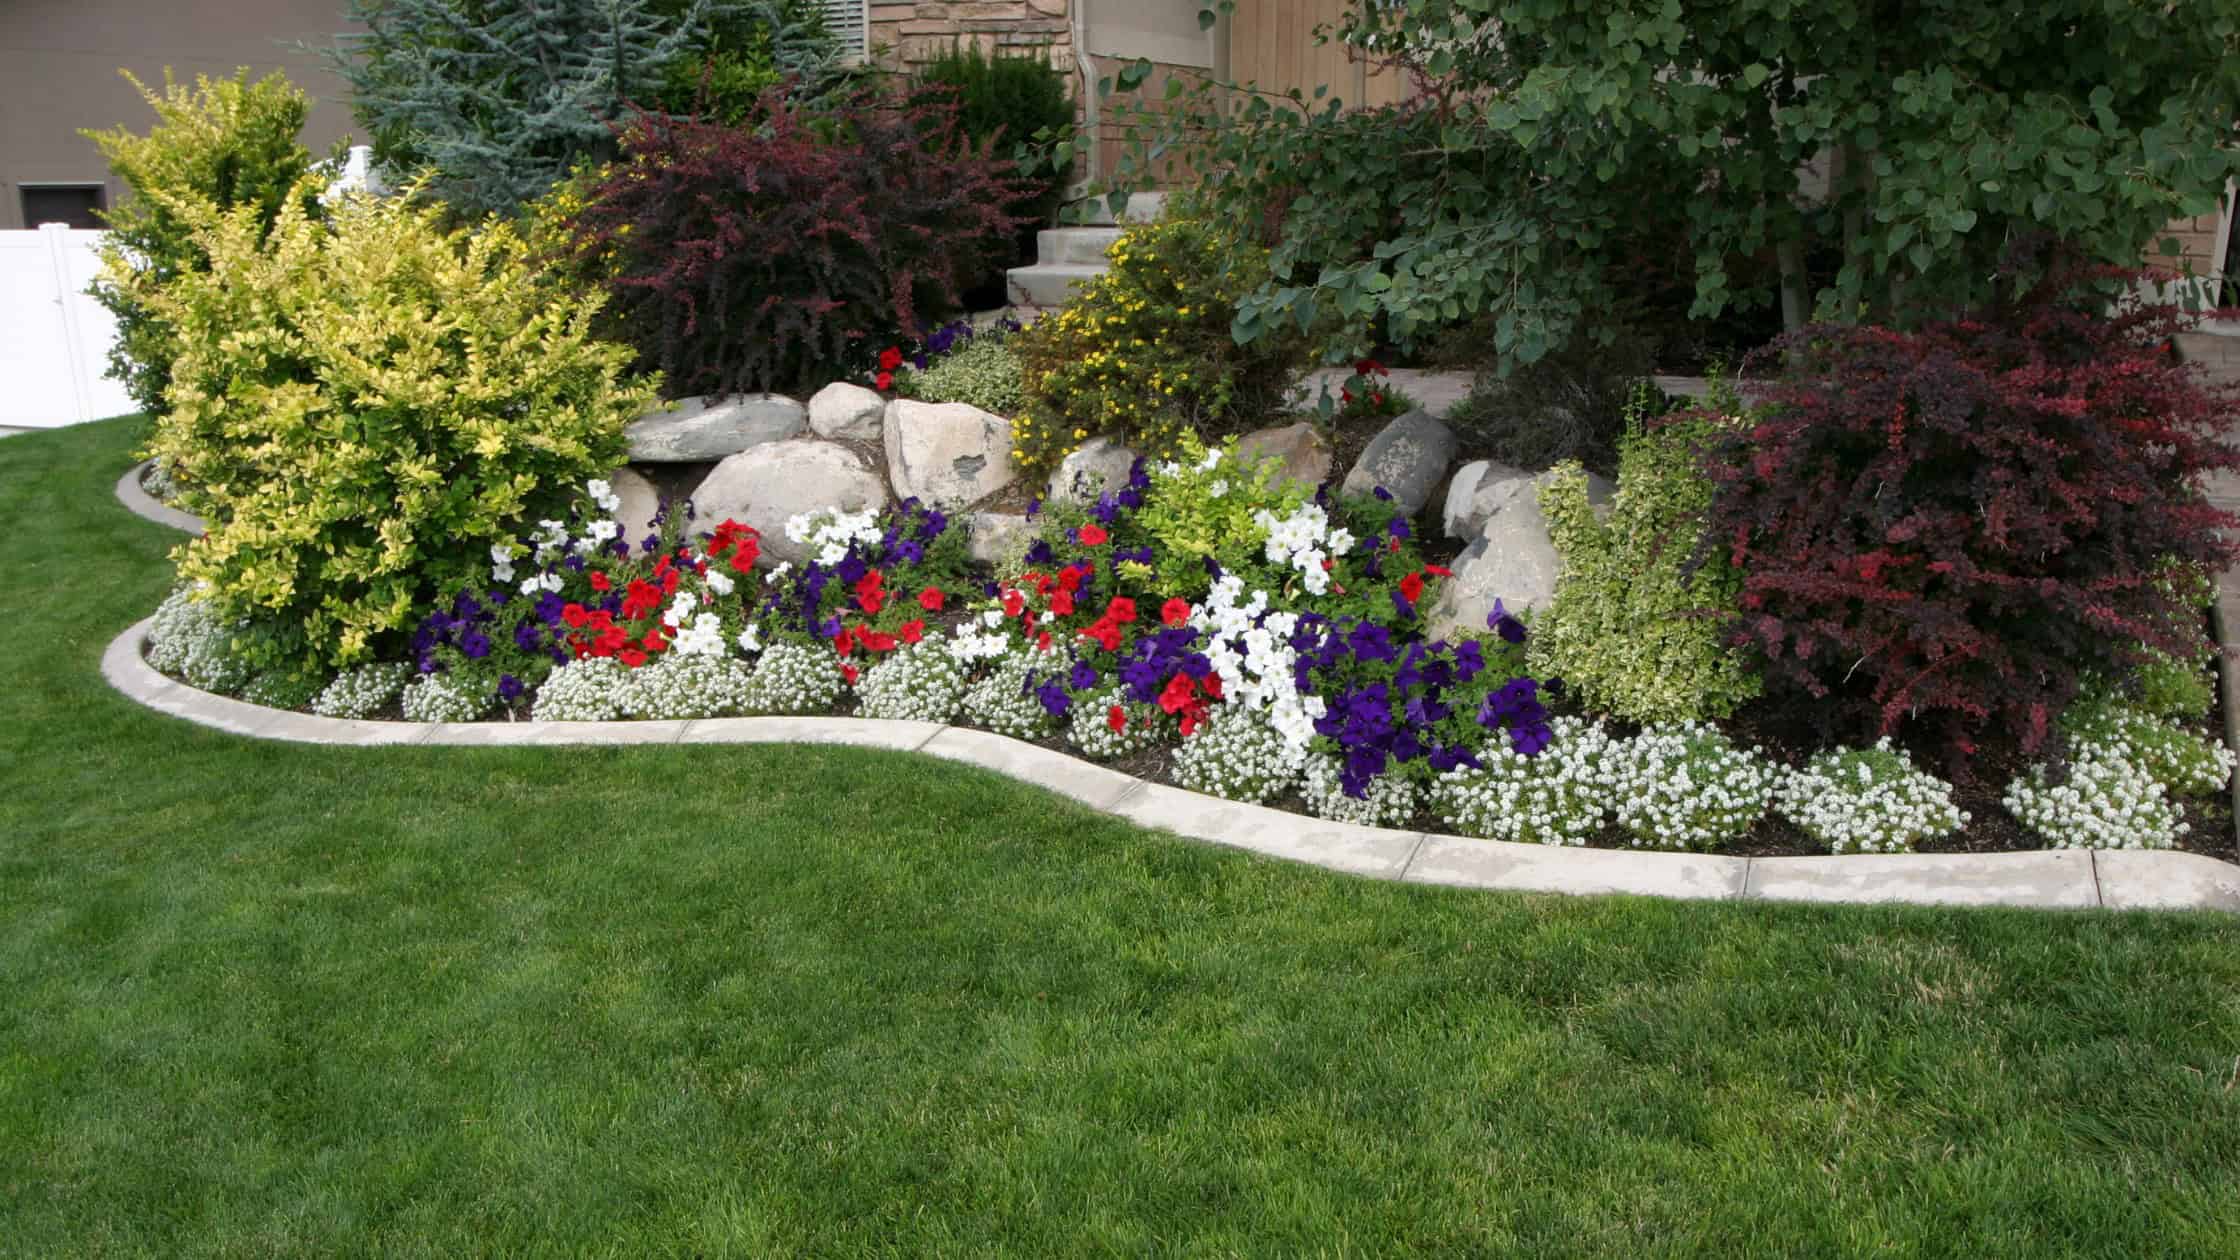
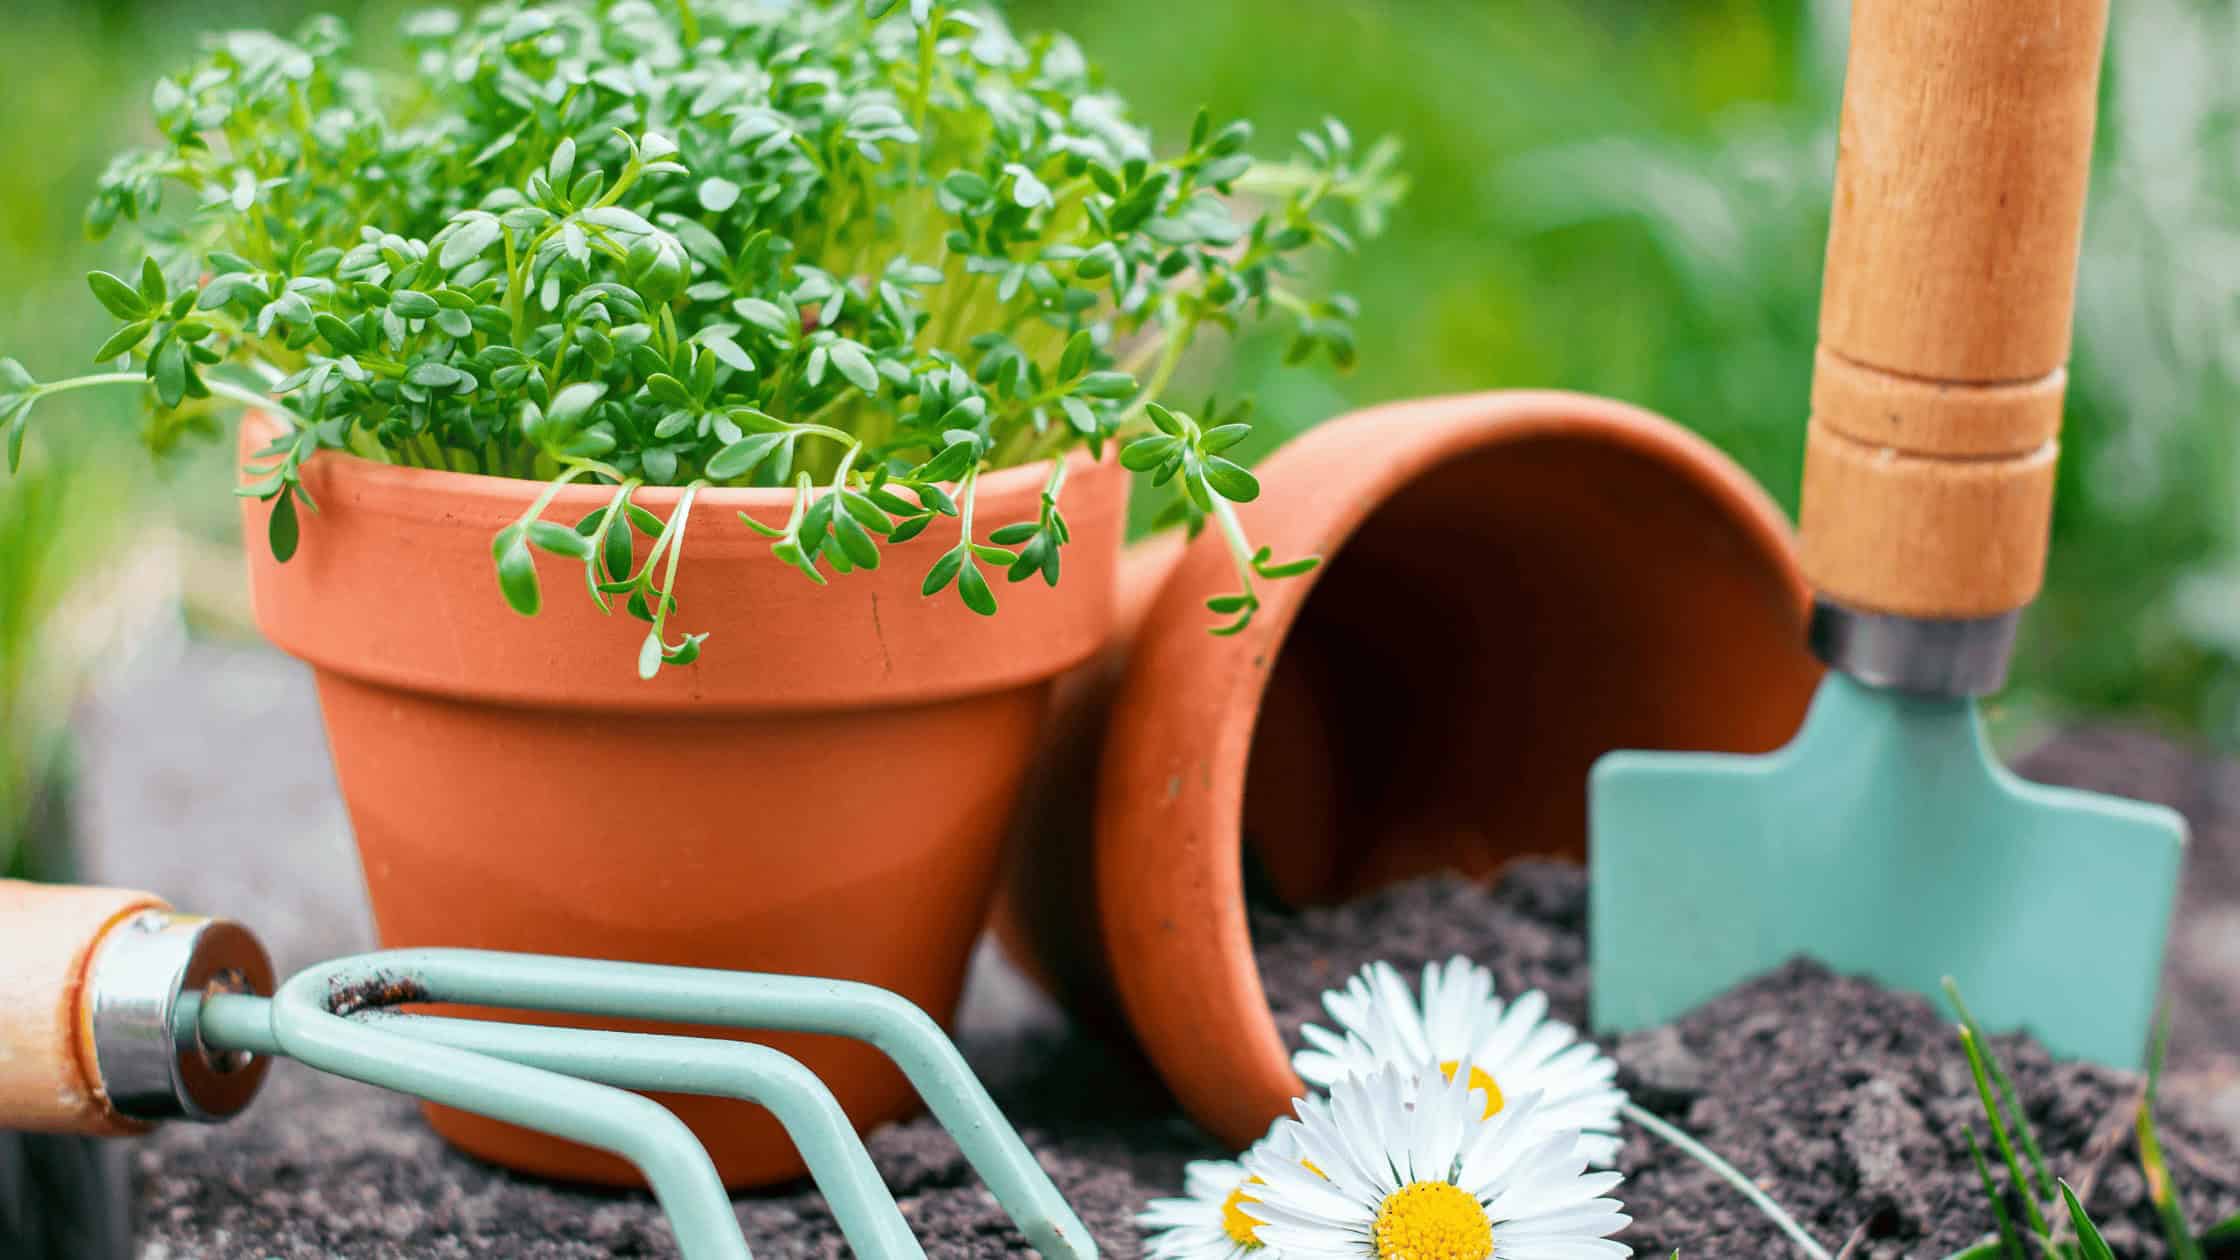
8. Prune, Weed, and Refresh Landscaping
June is prime gardening season in Portland, and a little landscape maintenance can make a tremendous difference.
Focus on:
- Pulling weeds before they go to seed
- Pruning spring-flowering shrubs
- Trimming overgrown plants
- Adding fresh mulch
- Defining garden bed edges
Popular Portland-area plants such as hydrangeas, rhododendrons, lavender, salvia, and native pollinator-friendly species benefit from regular care this time of year.
Fresh mulch not only improves appearance but also helps retain moisture during the drier summer months.
9. Check Windows and Doors for Air Leaks
Summer is a good time to evaluate your home’s energy efficiency.
Inspect:
- Weatherstripping
- Door sweeps
- Window seals
- Caulking around frames
Small gaps can allow conditioned air to escape and increase cooling costs.
Sealing leaks can improve comfort, reduce utility bills, and make your home more energy efficient year-round.
For homeowners thinking about listing their property in the future, energy efficiency remains a feature many buyers appreciate.
10. Review Home Safety Systems
Home maintenance isn’t just about appearances—it’s also about protecting your family and property.
Take a few minutes to:
- Test smoke detectors
- Test carbon monoxide detectors
- Replace batteries as needed
- Check fire extinguishers
- Review emergency preparedness supplies
With summer travel season approaching, it’s also a good time to verify that outdoor lighting, security cameras, and smart home systems are functioning properly.
A quick safety review can provide valuable peace of mind.
Bonus Tip: Think Like a Future Buyer
Even if you’re not planning to sell anytime soon, maintaining your home consistently can pay significant dividends over time.
One of the biggest advantages homeowners have is avoiding deferred maintenance. Small tasks completed regularly are almost always less expensive than major repairs that develop after years of neglect.
When buyers tour homes in the Portland market, they often notice signs that a property has been well cared for:
- Clean landscaping
- Well-maintained roofs
- Fresh exterior surfaces
- Functional systems
- Organized outdoor spaces
These details help create confidence and can positively influence perceived value.

June is one of the most enjoyable months of the year in Portland. The weather is pleasant, gardens are thriving, and outdoor projects are much easier to tackle before the heat of summer arrives.
By spending a little time on these ten maintenance tasks, you’ll help protect your investment, improve your home’s appearance, and prepare your property for the months ahead.
Whether you’re a longtime homeowner, a first-time buyer, or considering a move in the future, regular maintenance is one of the best ways to keep your home in excellent condition and preserve its long-term value.
Happy June, Portland! Here’s to sunny days, thriving gardens, and a home that continues to serve you well for years to come. 🏡🌿☀️